From the drawing board: The finished front garden in North London
5 Written by Lisa on 11th Feb 2014 in From the drawing boardIt’s been a while since I blogged about this project. We had a couple of challenges with the build phase of the project which held things up a bit, but apart from a drain cover that’s being made to order, the garden is now finished.
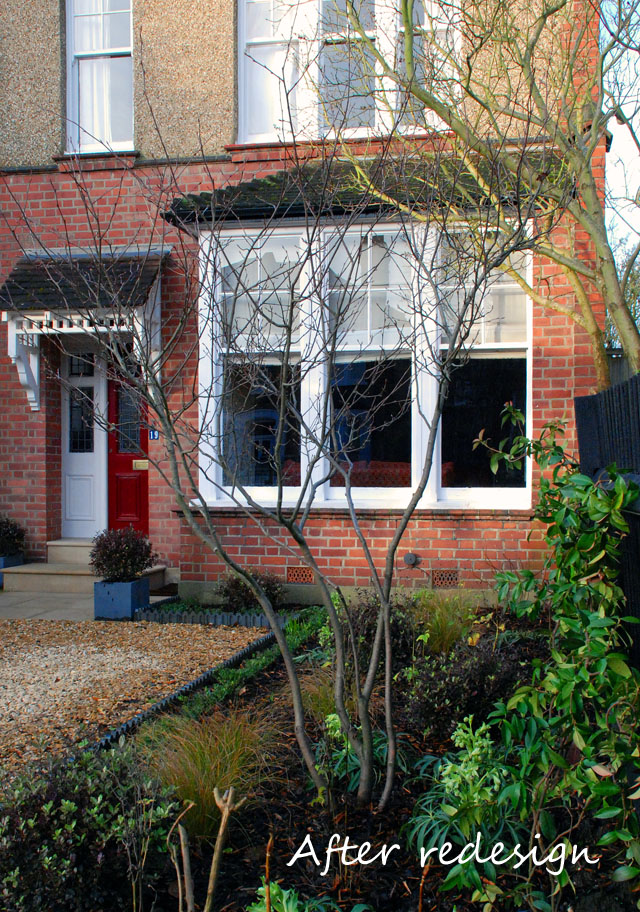
I went up last week to check on the planting and to take some pictures so I thought it would be nice to share them here. It obviously needs some time to fill out, but already the spring bulbs are starting to poke through the soil and I’m looking forward to seeing it unfold over the next few months.
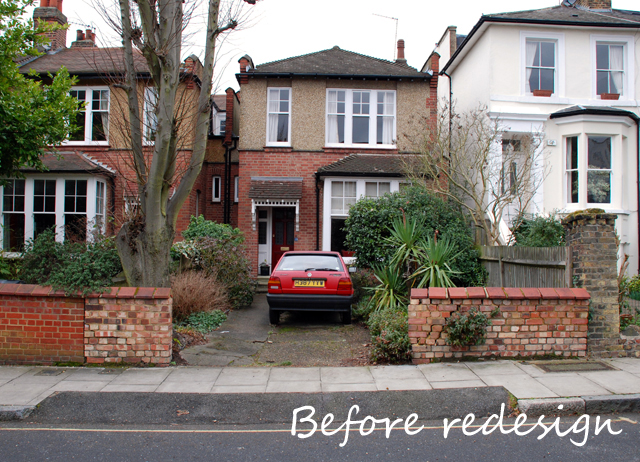
Here’s a reminder of how it looked when I first met my clients, Elizabeth & Ken. It was tired and unloved and they wanted a front garden that made them love their home again.
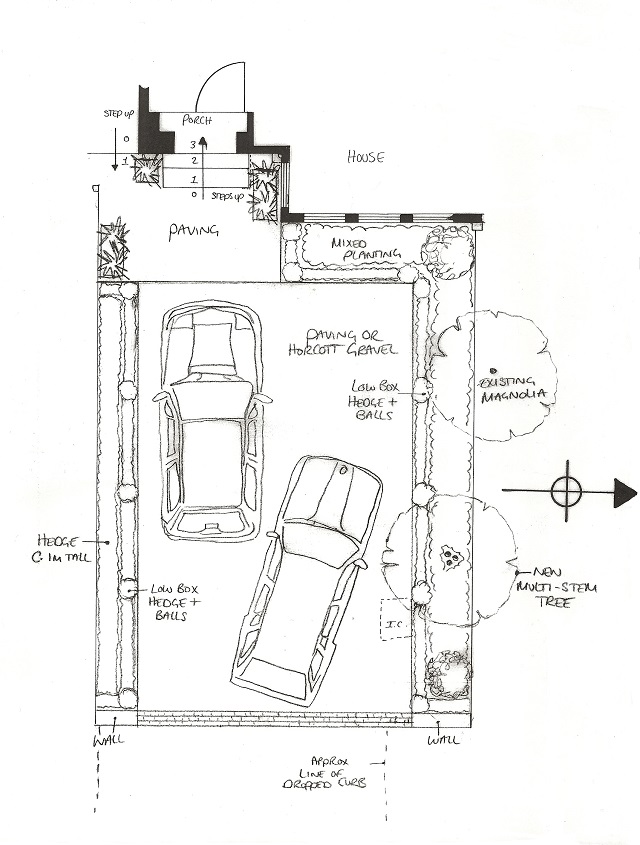
The design had to be simple and practical but I wanted the view from their lounge window to be good and the tree is very much integral to the design.
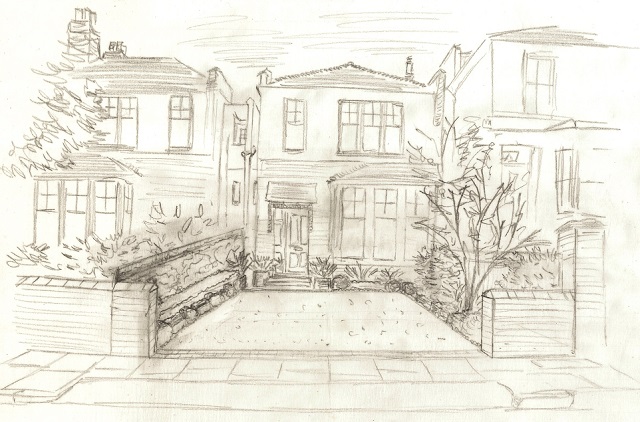
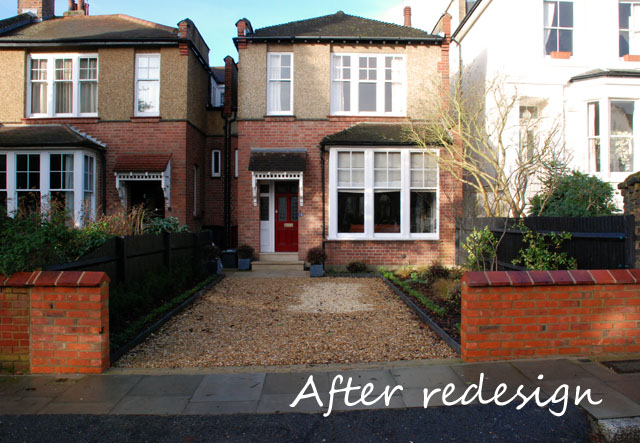
There’s a limit of course as to what you can do with the layout of a small front garden that needs to accommodate a car, but I hope you’ll agree that it now looks smart, tidy and welcoming.
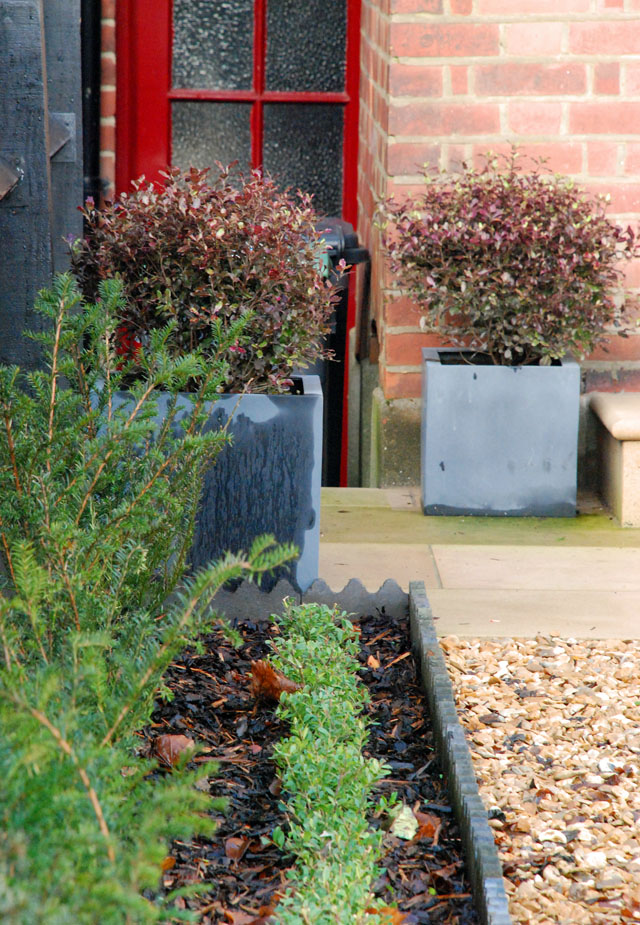
We used a sawn York stone for the paved areas and had special bull-nose treads made for the new steps which look really classy. Sawn York is such a beautiful stone, it looks like velvet when it’s first laid.
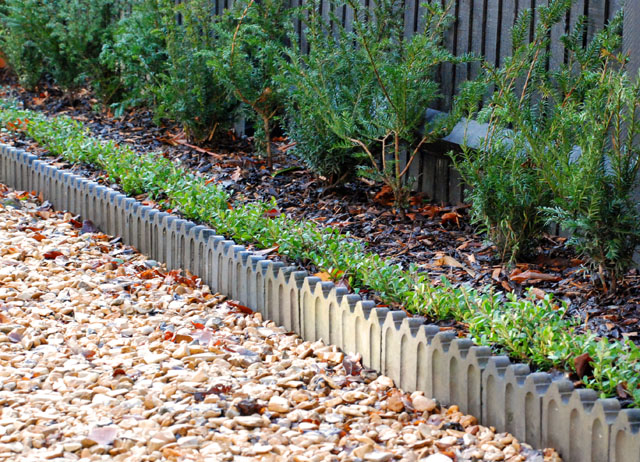
The edges are original Victorian edging tiles that we saved from the previous driveway. Some had been completely buried so we were intially concerned that there wouldn’t be enough. But they cleaned up brilliantly and look as good as new now.
If you read my blog regularly you’ll know that I use Horcott gravel quite regularly. It’s not that I’m not innovative with the materials I use, but it’s a great material when budget is restricted as it looks great, is permeable and creates a very stable driveway.
The tiered hedge on the left hand side of the garden needs some time to fill out but I hope you can visualise how it will look eventually.
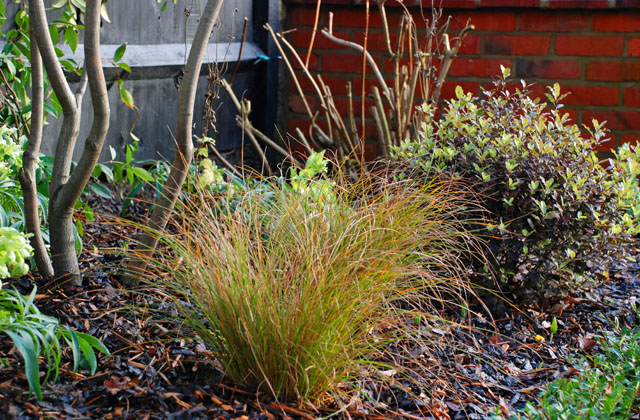
The bed on the other side of the garden is designed to provide interest all year round, with predominatly evergreen plants and a beautiful multi-stem amelanchier which I can’t wait to see when the blossom arrives.
I’d love to know what you think? I’m really pleased with the finished garden and thankfully so are Elizabeth and Ken!
(Images: Lisa Cox)


 Welcome
Dear Lisa – I love your blog and your website – they are very stylish indeed, and your work is very inspiring. I am currently studying for an online diploma in garden design at KLC and I find your work for your clients very interesting to study – your plantings and landscaping is so smart and chic, yet also very practical for your clients. Loved your article on Chelsea Flower Show too – perhaps I’ll see you there!
Kind regards and happy gardening, Ursula
Thanks Ursula, glad you find it inspiring to read and great to have nice feedback about my design work too. Good luck with your course – hard work, but it will be well worth it!
Hi, love this simple and smart design. I’m curious to know if you dug up the previous driveway to make some depth so that the gravel stays put and doesn’t spill out onto the pavement?
Thanks Maddy. Yes, the driveway was dug out and prepared with a MOT Type 1 Sub-base (150mm depth min.) and the gravel was spread over the top. For this particular garden, we used a gravel stabilising system called stableDRIVE, but if you use an aggregate which is quite angular in nature, it should knit together really well and create a stable surface. If the stones are too rounded it will be like walking along a pebble beach!
That’s brilliant thanks for the information Lisa